How to make a basketball hoop for your home. How to make a basketball hoop for your room. How to install outdoors at home
For many, the word “dacha” is associated only with a vegetable garden and an overwhelming amount of work. And the question of rest comes up more and more often. After all, at home you have to go to work, but on your own plot you also only work and have no time to spend fun time with your family. If you have children and grandchildren, then the most you can see at the dacha is a swing. What about healthy relaxation that benefits the body? For this we need equipped sports grounds. Naturally, everyone chooses the type of sport according to their preference, and we will tell you how to make a basketball court with your own hands - arranging a ring, a backboard, and the basis for the game. And if you are not the only one in the family who likes to throw a ball into a basket, then there are reliable helpers and its installation will not take much effort and time.
How to choose a location for a basketball court
It is necessary to approach this responsibly, not to forget that this place for basketball will be constantly used and the ball will be played on it. Therefore, you should immediately choose a site that is located far from the house and garden. Depending on the soil and groundwater, a basketball court cannot be located in the following places:
- near bodies of water– if a ball hits it, ornamental plants in the pond or children playing happily in the pool can be injured;
- on the slopes. All sports fields require a perfectly flat surface for proper play;
- in the lowlands. After numerous rainfalls, the sunken area may take a long time to dry, and therefore its use will not last long;
- on a site with nearby groundwater. Changes in soil in the off-season can affect the fastening and fixation of sports equipment - a rack with a basketball basket. It may become warped.
How to install outdoors at home
At home, like any construction, laying a sports complex requires drawing up a work project at the beginning. And then an approximate estimate. After all, if at the time of laying there are not enough funds, it is necessary to calculate the work plan in such a way as to make do with the available funds in the first stages. First, you should level the area and cover it with a suitable covering. It can be laid both on the ground and on concrete.
You will find all the information about rubber coatings for children's playgrounds in the country.
Foundation installation
Installing a flat cement surface involves the following work:
- removal of fertile soil layer. It is necessary to dig up 40 cm of soil, first removing a layer of grass and then a small layer of soil. This is necessary to lay a drainage cushion before laying the main covering;
- then geotextiles are placed on the soil. It comes as a single piece, so you must first cut it to size into separate pieces that can be laid both horizontally and vertically. The main thing is that they overlap each other by at least 30 cm. This will prevent subsidence of the upper drainage layer. Sand should be poured onto it and leveled; the approximate thickness of this layer should be 15 cm;
- lay geogrid, which will serve to strengthen the entire structure. It is made in the form of cells, which are half filled with sand and covered with crushed stone on top. Using special tools, the latter is compacted to a thickness of 15 cm;
- pouring cement in several stages, this is necessary to create expansion joints. With their help, the top coating will be permanently fixed on the cement plane, and moisture will pass through them faster.

If you still decide to lay the main surface of the sports ground on the ground, then you should remove a small layer of grass from the laying site and fill it with sand, not reaching the edges in height.
Choice of coverage
At a country sports complex, you can use a wide range of lawn (location - soil) and roll coverings, which should be located on a cement base.
Sports turf
The easiest way is to sow this area with a sports lawn. Its grass mixture must include varieties of meadow grass. He will protect her from trampling. But it requires constant care. Thinning areas should be continually reseeded with new, fast-growing grass, and the lawn itself should be mowed every four days. Before laying it, it is necessary to provide a drainage system and ensure constant watering. 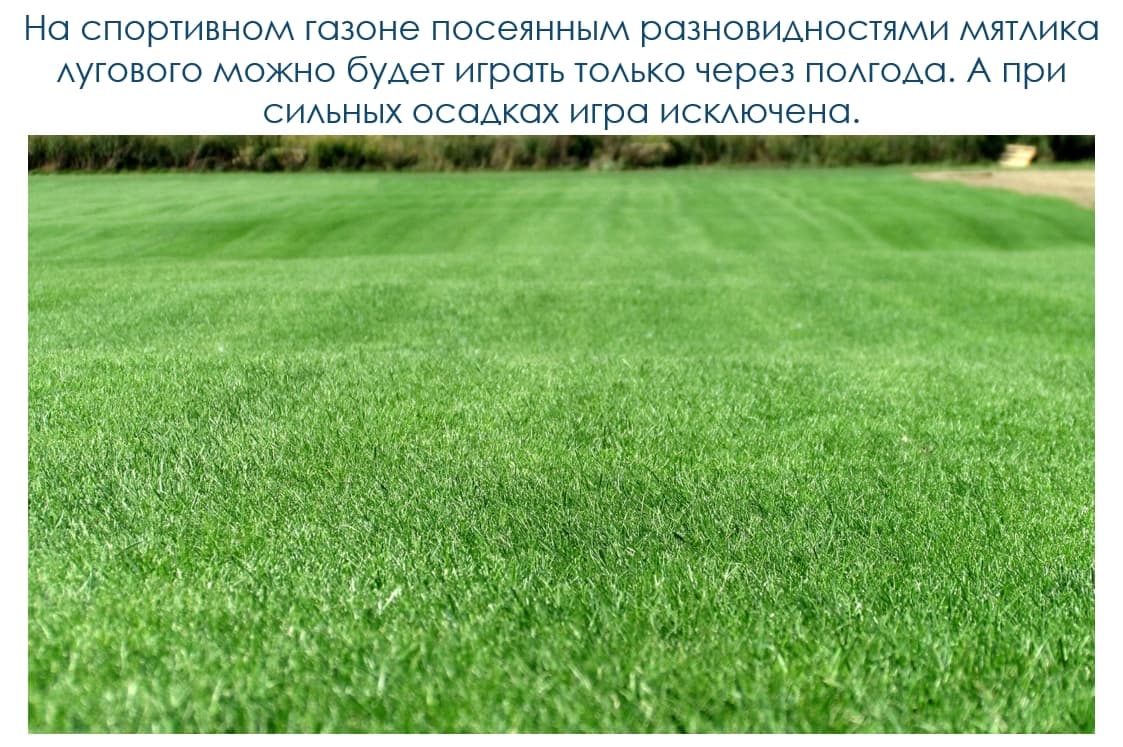
Special mixture
The next coating is a special mixture. It consists of sand, lime and clay soil. Materials with large particles are used as a drainage layer for it, but between them and the special mixture it is necessary to lay geotextile fiber, which will protect these two layers from erosion and mixing with each other. This is one of the cheapest ways to create a protective layer on sports grounds. It is noteworthy that its maintenance does not require much trouble; after the formation of irregularities, such a coating can be easily restored.
Wooden laying is rarely used for sports corners, under which it is necessary to make a strip foundation. It is raised above the horizon by about 10 cm to ensure rapid drying after rain. But this option is short-lived and traumatic, as it affects the ankle.
What an outdoor children's sports complex for a summer residence is like is described.
Roll coating
Roll coverings are easy to maintain. After installation, you don’t have to wait long; after a week you can already run and play sports on them. Its installation is carried out only on the drainage layer and foundation. In addition, it has seams. Its production takes place entirely in production, and this affects the high cost.
Regupol
Regupol is a rubber version of roll coating. Its base must be made of concrete or asphalt, and they must be perfectly smooth, otherwise unevenness will be reflected in the top layer. This is a fairly reliable and durable installation, but it can also lag behind the base over time. 
For those who put quality and convenience first, they should make a platform with self-leveling coating. It has many advantages over other types: it has no seams, does not require special care, is easy to install and is also easy to restore. Professionals should be involved in its installation; their experience will ensure correct application of the coating.
The choice of the top layer of a basketball court depends solely on the preferences of the owners and the means they have for laying it. If you plan to use the sports complex infrequently, then you can get by with unpaved budget options.
How to make it yourself at the dacha
Even when pouring the foundation of the future site, it is necessary to decide on the location of the equipment and prepare places for it in advance. Usually, for convenience, a stand with a ring is placed on the edge of the area, providing a minimum distance of 3 meters around it, this will be sufficient for a full shot into the basket. A basketball court with two baskets will occupy an area of 20 × 35 m. 
Ring, shield, mesh
You can make a complete farm with a ring with your own hands. The shield frame is made of metal corners, which are welded together to the required dimensions. Then the necessary boards are selected to create the wall. When attaching them, gaps may remain, but they will not interfere with the game. The main thing is that the wooden surface is smooth. It can be painted any color you wish, and also decorated with all sorts of designs. You can involve children in this work, they will surely amaze you with their creativity and will be happy to take part.
Creating a ring will require a rope, thick wire and any conical device - a template for making the diametrical size. The wire is wound around it with a small margin at the ends. For them, the resulting ring will be attached to the shield. Its diameter should be slightly larger than that of a basketball.
Then they begin to make the mesh. The prepared rope is cut into 20 equal sections, taking into account that their length should be three times the expected height of the basket. The resulting pieces of rope are attached to the ring at equal intervals, and then tied together strictly in the middle so that the remaining ends are equal. And then they are bandaged again. This action continues until the ends of the ropes remain very short.
Installing a basketball stand for a child
The stand itself can be made from pipes or corners, having previously welded them. If you have small children, then you should make several holes for fasteners at different levels and initially hang the shield at the lowest one. To make it comfortable and interesting for kids to play with you. And as they grow, the shield can be moved. 
Manufacturers and the cost of their products
The Chinese manufacturer "Spalding" with many years of experience offers high-quality equipment:
- mobile stands with a basket and a shield of various sizes costing from 10,500 rubles;
- basketball hoops without a net – 700 rubles;
- basketball farms from RUR 26,000;
- figured laminated shields – 22,000 rubles.
The Ukrainian company Demix sells a protective shield with a ring 46 cm in diameter and a neoprene mesh at a price of 5,500 rubles.
The Russian company Freight Sport produces sports equipment for basketball courts:
- a board made of moisture-resistant plywood and a metal base has a price of 15,000 rubles;
- a ring with a mesh can be purchased for 600 rubles.
You will learn how to make a birdhouse with your own hands.
Video
In the video - how to install a basketball hoop at your dacha with your own hands:
A sports corner at the dacha will not only provide active recreation for the whole family, but will also be a good release after a hard day at work. On the basketball court you can play with friends and neighbors, organizing mini-tournaments. This game will appeal to the younger generation, who will ask to go to the dacha with you just for this reason.
Despite the fact that making a basketball backboard with your own hands may seem like a frankly stupid and doomed idea, it is still possible to make a good backboard for playing basketball. It is important not only to comply with the dimensions and compliance with the original product, but also to take into account one very important point.
From the outside it may seem that the contact between the basketball hoop and the ball is quite soft. In fact, the impact load on attaching the ring to the shield is quite significant. Even after making a mid-range throw, the weight of the ball increases several times at the moment of contact with the ring.
It is easy to guess that in the event of an inaccurate long-range throw, this contact can be truly destructive. Considering that the fastening can withstand such loads several tens of thousands of times, maximum efforts should be made to ensure reliable fastening of the ring to the shield, and the shield, respectively, to the wall or other structure. In short, the power and reliability of the shield itself is not as important as reliable fastenings.
Speaking about materials for making a basketball backboard at home, it should be noted that a pine board would be a good option, and an even more suitable option would be a harder type of wood. Plywood, plastic and fiberboard are not the best materials for a basketball backboard. Plywood and fiberboard are likely to suffer quickly when exposed to the elements, and plastic is not known for its durability and reliability.
The overall dimensions of the backboard used in professional basketball are 180 by 105 centimeters. A homemade shield can be smaller in scale - a square product with a side length of about 80 centimeters, I think, will satisfy all the needs of trainees. Only the square located above the ring (dimensions 59 by 45 centimeters) is actively used, from which the ball can enter the ring and be counted.
A basketball hoop is best made from a metal rod (diameter 15-20 millimeters). To protect against atmospheric influences, the entire structure must be coated with paint. In a word, creating a basketball backboard with your own hands is not an easy task, but it is completely doable and within the power of everyone.
Brick
What is a “brick” in basketball? What is called a brick in basketball? A brick is a bad shot in basketball. Unsuccessful...
Our son became interested in basketball in the summer, and although there is a wonderful stadium with a basketball court half a kilometer from the house, sometimes you want to hit the ball near the house. Therefore, it was decided to make a basketball backboard right next to the fence with our own hands (so that we could knock on a relatively hard road surface, and if the ball did not hit the hoop, it would fly to our site, and not to someone else’s.
We deviated a little from the standard and our sizes turned out like this (photo clickable)
The shield was cut out of OSB (two layers were twisted together just in case, and another small square was added to strengthen the fastening - this can be seen in the photo below) and carefully painted with oil paint

The support was made of metal profiles measuring 50*50 and 56*56.
The fact is that the part of the fence where the shield is attached is supposed to be removable - this is where we usually dump soil, crushed stone and other minerals. Therefore, it was decided to make the shield removable. Along with support. This is how we implemented this idea.

A short post is driven into a pre-dug hole and cemented. The long one is secured in it with screws. If necessary, it can be removed. Actually, this is also visible in the diagram above.
Just shortly before the construction of the shield, we got a welding machine, and this product turned out to be an excellent workout. The pipes were welded in an L shape, and a beautiful rectangle was welded to the short crossbar, onto which the shield was attached.

Rings with mesh are sold for little money in all sports stores and in many hypermarkets.
It turned out very beautiful.

There is nothing to do at the dacha, just bend metal, barbecue, drink beer.
We need to get involved in sports, both for ourselves and for the children.
True, to do this you will first have to “bend the metal” and celebrate this with beer and barbecue.
In the next episode of the "Made of Metal" project - make a basketball backboard.
A collaboration between me and my father.
Batko studied the standards for the height and dimensions of a basketball backboard, made the wooden backboard itself, painted it, made thumbscrews, and installed a post. Well, he also made critical comments about the metal part.
I came up with all the metal parts and welded the metal.
01. First, I sit down at the computer and figure out a drawing for fastening the shield and the pole itself.
The original plan was to place the ring in a different place and pull it with a solid hitch to the nearest tree. But there turned out to be a lot of roots there and they decided to install it in free flight and without a tie, which is why the ring at the top of the post remained rudimentary only in the drawing. The diagonals that are not in the drawing (green) were also canceled. We decided that the rigidity of the wooden shield and metal fastening would be enough to prevent “walking around”.
I also changed the method of strengthening the outrigger elbow during the move. Not a corner as in the drawing, but two stripes on the sides, see in the photo below.
A 5 cm profile was used for the post, a 6 cm profile was used for the bracket strung on the post. A strip was welded inside to prevent play.
Everything that is adjacent to the wooden panel is a 25 mm corner.
Important: the ring must be universal for both adults and children of different heights. Therefore, a height shift system was made.
02. The main large elements are welded: a pillar, an elbow, two solid fuel boosters of the stepson. The top edge of the pillar and stepsons is beveled: for rainfall drainage and for beauty.
03. More different types
05. There is a strip welded inside the elbow pipe. At the top of the hole.
06. The shield fixation system has been completed. No, this is not a bottle of Zatetsky Hus beer, this is gasoline.
07. Stepchildren are welded. There was an error in the calculations. It was assumed that the stepsons would strengthen the pillar against swinging, but they attached them lower than necessary. Next in the photo you will see that they protrude quite a bit from the ground. It would be possible to raise it 30-40 cm higher. But now the pillar still sways when playing.
08. The heels are welded into the part that goes underground.
10. Everything is painted
12. Hole
13. Leave it like this for a couple of days and you can continue. Part of the pillar is unpainted, because... There was no putty for metal, putty the seams. Putty was purchased in addition, puttied and painted a little later.
14. Up!
15. Shield assembly.
16. Done!
17. Now the ring is at its lowest height. Even lower than calculated, because one hole is not used (see the vacant thumbscrew). The height change occurs with the help of one man-power on a stepladder.
19. The village open basketball championship has begun!
Basketball is a great game, and the yard version is the most democratic sport. You can play it team of 6-8 people or alone practice throwing.
A basketball hoop installed on a personal plot or in a yard is sure to attract fans of this sport. And often homemade product is better than store-bought options, since the age, height, and preferences of the players are taken into account.
It may be much stronger and more durable bought in a store. And a person gets much more moral satisfaction from a ring made with his own hands.
How to make a basketball backboard with your own hands
First, you need to decide what kind of ring you want to get in the end. Just a basket with a wall or tree mount or a full-fledged shield complete with everything you need. Then - choose a place to install the shield and prepare the site. Further - break the work into stages.

Photo 1. Diagram of a standard basketball backboard with the necessary measurements. To play in the yard, it is not necessary to take them all into account.
Tools and materials
- jigsaw for metal;
- hacksaw on wood;
- drill or hammer drill;
- adjustable wrenches;
- paint and brush.
To make a ring you can use thick steel wire, with a diameter no less 5 mm, iron band or old hula hoop. It will have to be shortened a little in the future. Used to make a shield plywood, at least 5 mm thick. If the shield is installed in the yard, then it is provided strong pillar for support.
Dimensions

The ring size should be 45 cm in diameter(slightly larger than a basketball). Shield size - 180x105 cm.
The product will be attached to the bottom of the shield: 5 cm from the edge. This means that from the ring to the top of the shield there should be exactly 1 meter.
The shield can be hung at any height depending on the average height and age of the players. But it’s also possible on the standard one - 3 m 5 cm.
This will allow players to feel comfortable on any standard site in the future.
View
If the ring is attached not just to a tree, wall or pole, but has his own shield, then it should have the appropriate form. The shield is usually white with black stripes around the perimeter and a drawn square directly above the grid. Square size 45 cm high and 56 cm wide. This standard will make the game correct and will help to put the ball straight into the basket, since if it hits the square, it will bounce straight to the target.
Making a basketball hoop
If the ring is made of wire or steel strip, then it is needed wrap it around a cylindrical object and fasten both ends. If you use a hacksaw to cut out the unnecessary part of the hoop from a hula hoop tube and reconnect the ends. When making a ring, you need to remember to make fastenings, for example, bend the ends of the wire in one direction so that you can then attach them to the shield.

On the ring there must be a grid: after the ball hits the target, it will direct it straight down, and not to any corner of the court. To make it you will need long cord.
Cord lengths approx. 20 cm each, you need to tie them to the ring at such a distance that they are evenly covered the entire circle at 12 points.
Then, with another piece in a circle, tie all the ropes, and so on several times at intervals of 5-6 cm. The grid is ready.
Shield cut with a jigsaw or hacksaw, having previously made markings with a pencil. After this, the product can be painted.
Important! Black stripes and a square above the basket on the shield must be 5 cm wide otherwise they will simply not be visible.
After the paint has dried, you can attach a ring to the shield, and attach the shield itself to a pole or wall. Standard and type of fastenings depends on what the ring was made of and how the shield will be attached. The main thing is to calculate so that the design withstood at least 40-50 kg of load.
Fastening at home
If the ring is made round wire, and its ends are bent down, then they can be tighten to the shield with 2 bolts, connected by a metal plate in the area of the caps.

If the ring is made from a wide iron strip, then you must first bend the ends so that the strip fits tightly to the shield.
Such a product is also fastened using bolts threaded into pre-drilled holes in the strip and plywood.
If there is no shield and the ring must be attached directly to the wall, then instead of bolts you can use anchors. In this case, you will need a hammer drill to make holes in the wall.
To a tree or wooden post, the ring is possible nail with 100 mm or screw it on long screws.
Attention! Whatever type of fastening is used, they have one thing in common - It is necessary to place the ring horizontally. If it hangs crookedly, the ball will slide off the edges and past the basket.
After the shield and ring are secured, The site is being prepared. There should be no stones, puddles, or protruding stumps on it. Basketball is a very traumatic sport and players do not need the extra risk of tripping over a bush, stump or stone sticking out on the court. If the ring is installed indoors, then before the game you need to make sure that everything breakable is hidden, and the glass on the windows is reliably protected.
Useful video
Check out this video that shows how to make a basketball hoop out of metal rod.